


So when my soon-to-be three year old asked for a "Thomas the Train Party" I forced a smile and thought how in the world is this not going to look tacky?! But I had to quickly get over my aversion to all cartoon characters and embrace his dreams - after all this is HIS party :) I scoured Pinterest for the classiest Thomas ideas I could find and this is what I came up with - a sort of vintage take on Thomas the Train...
{ MY INSPIRATIONS ON PINTEREST }
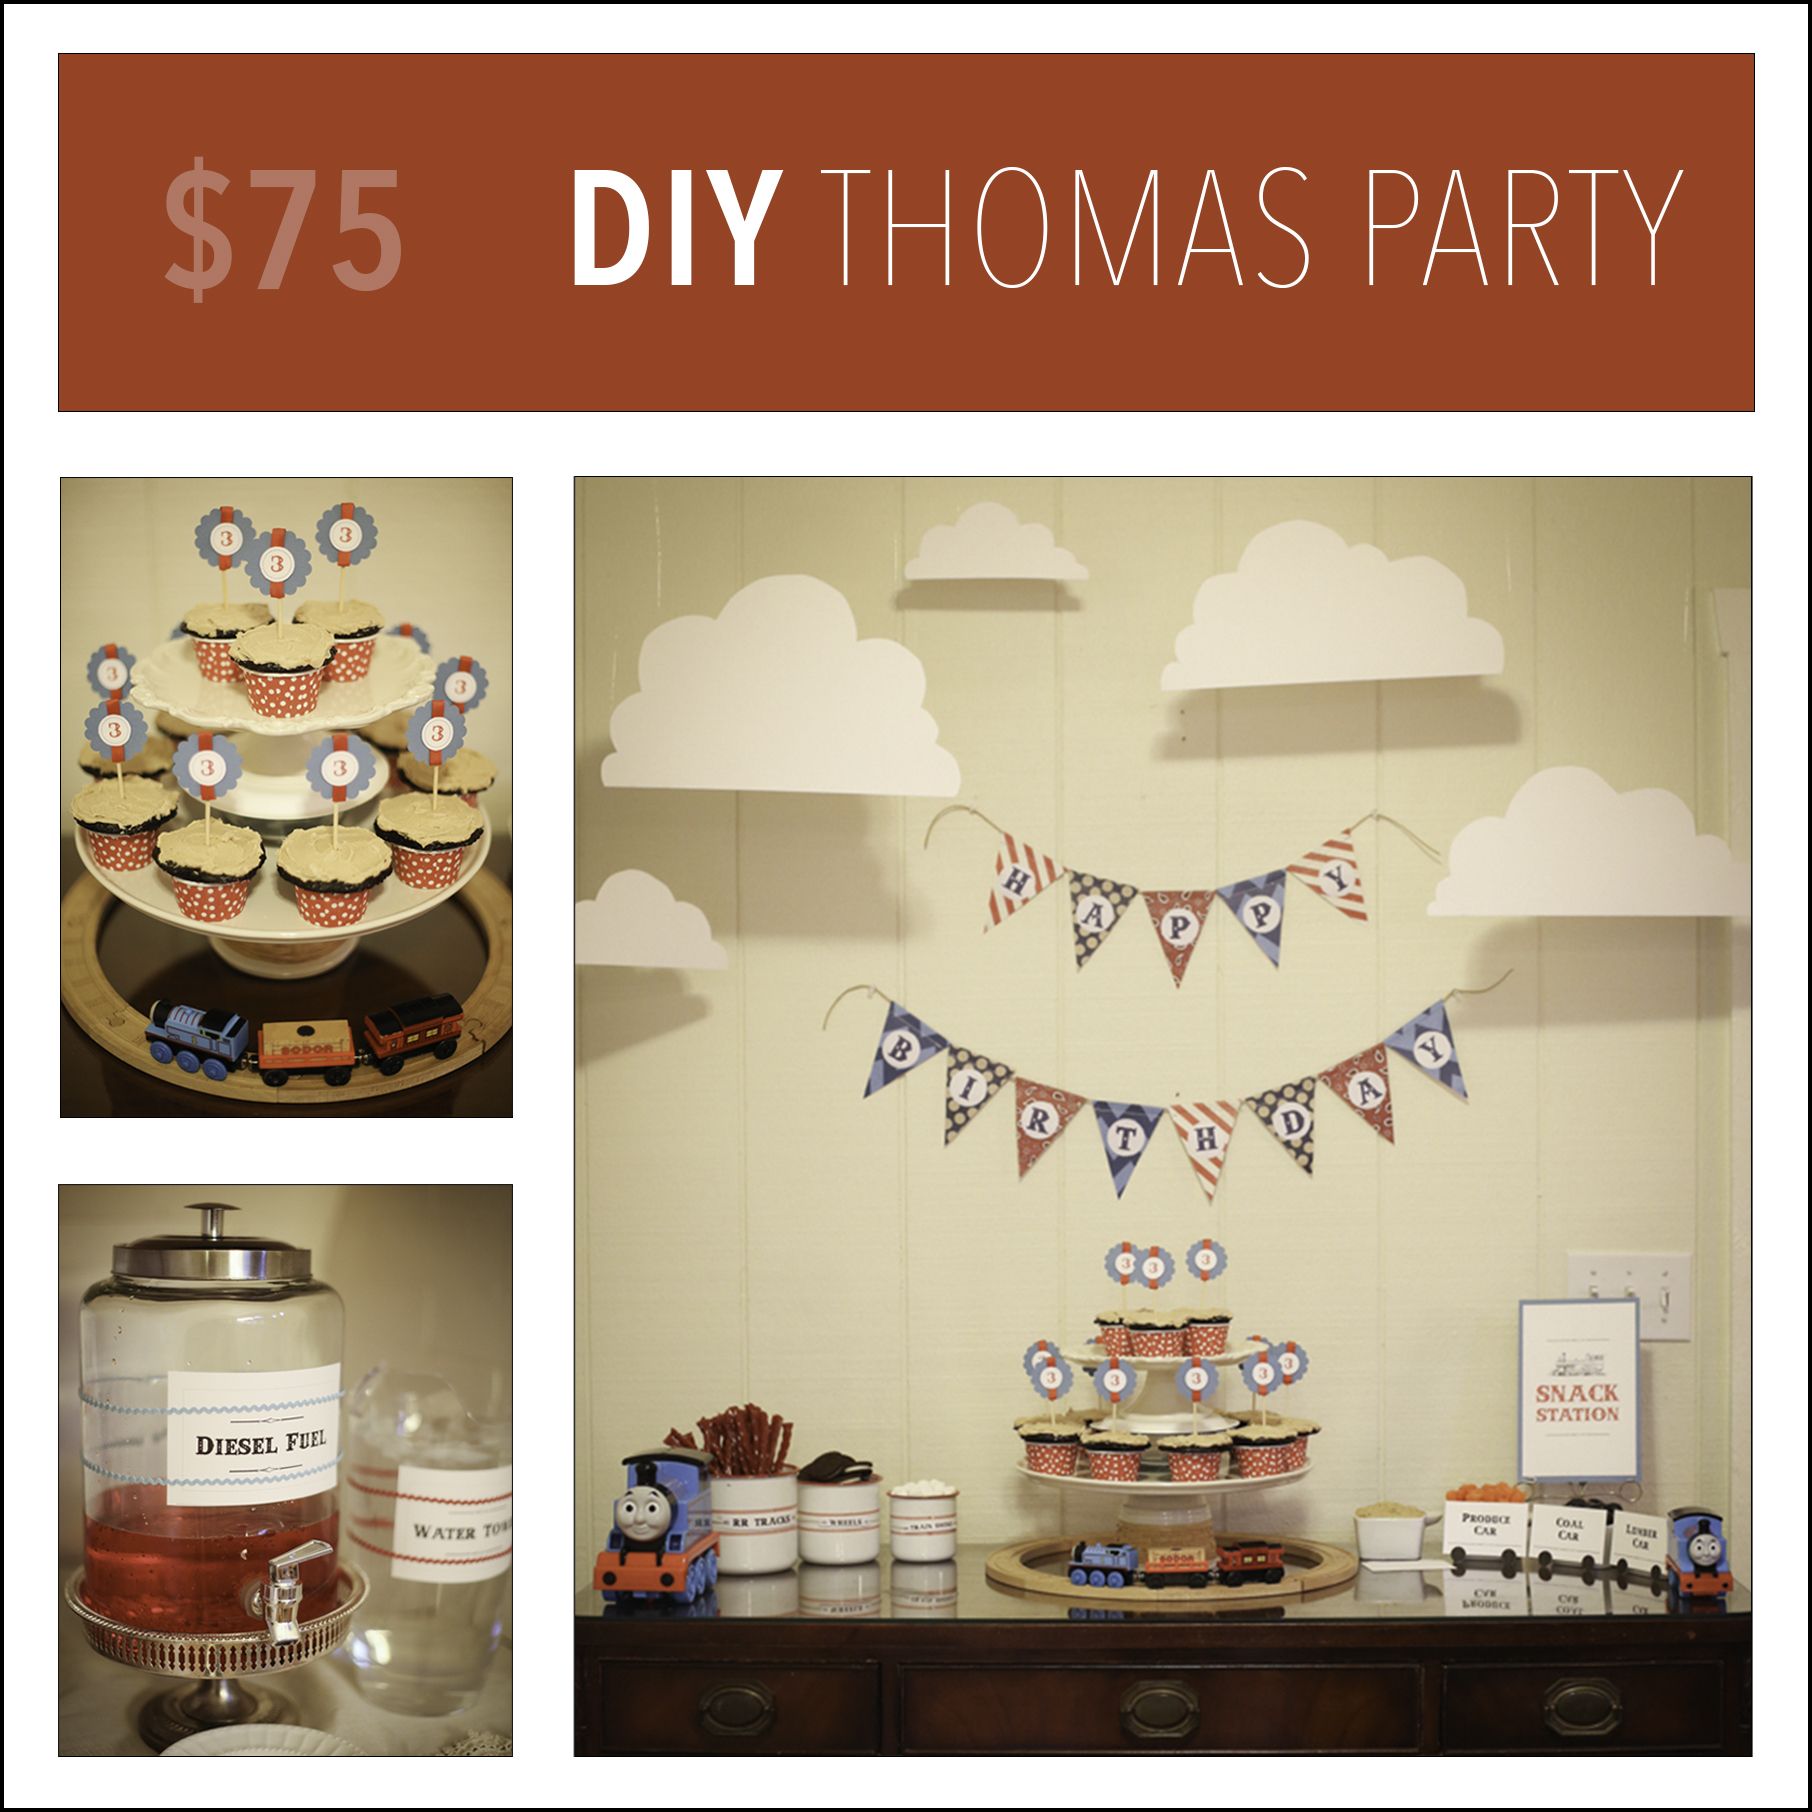
This DIY Thomas the Train Party cost about $75 (including food) to put together. I purchased almost every supply from Hobby Lobby. They have the best prices and if whatever you're buying isn't already 50% off, it probably will be the following week. So if you plan ahead you can really save. They also always have a 40% off "one regular priced item" coupon that you can pull up on your phone from their website or my favorite coupon app Retail Me Not.
RECIPES LINKS
{ CHOCOLATE CUPCAKES }
{ PEANUT BUTTER FROSTING }
DIY: BIRTHDAY BANNER
#1 PICK OUT THE PAPER
I always sit in the scrap booking isle for 30 minutes playing with different papers and arranging them to get the perfect combo.
#2 CUT INTO TRIANGLES AND FOLD OVER 1/2 " AT TOP
You'll need to trim the extended angle at the top because the corner pokes out when you fold it.
#3 LAY TWINE IN THE FOLD AND STITCH WITH SEWING MACHINE
I'm sure you can scotch tape a chanel if you don't have a sewing machine
#4 GLUE ON LETTERS
I Printed out circles with a vintage train looking letter and used Yes! paste because I ran out of glue sticks

DIY: CUPCAKE PICKS
I used a 2" scalloped paper punch and cut out blue circles. Net I printed out 1" circles from my computer using a vintage train inspired font. I cut small pieces of gross grain ribbon and taped them around the blue scallop (I also trapped a toothe pic in the tape on the back as my pick). Then with a small piece of tape rolled I stuck that between the "3" and just barely overlapped the ribbon to catch some of the blue scallopped paper. And voila! Custom cupcake picks!
I also highly recommend these red and white "nut & party cups" to set your finished cupcakes in. Otherwise you get the bleed through of black when baking chocolate cupcakes in regular holders.


